For this first chalkboard the frame came to me free. It was actually a frame around a print that my mom gave to me. Now, I know my mom is reading this so I'm going to be very polite and let her know that the
This frame started off as an old gold color, like many of them do. My 13 year old daughter wanted a very bright chalkboard frame though. So here's what I did:


See why I love this shiny glaze so much?
After the frame was finished I moved on to the chalkboard part. At Home Depot you can get 1/8" smooth plywood, and they even cut it for you. So for ALL of my chalkboard projects it cost me about $5 for the wood to make the chalkboards with, and

At home I primed each board. I like to use Kilz spray primer for projects like these. A little can goes a long way.

Then I sanded and wiped down each board.
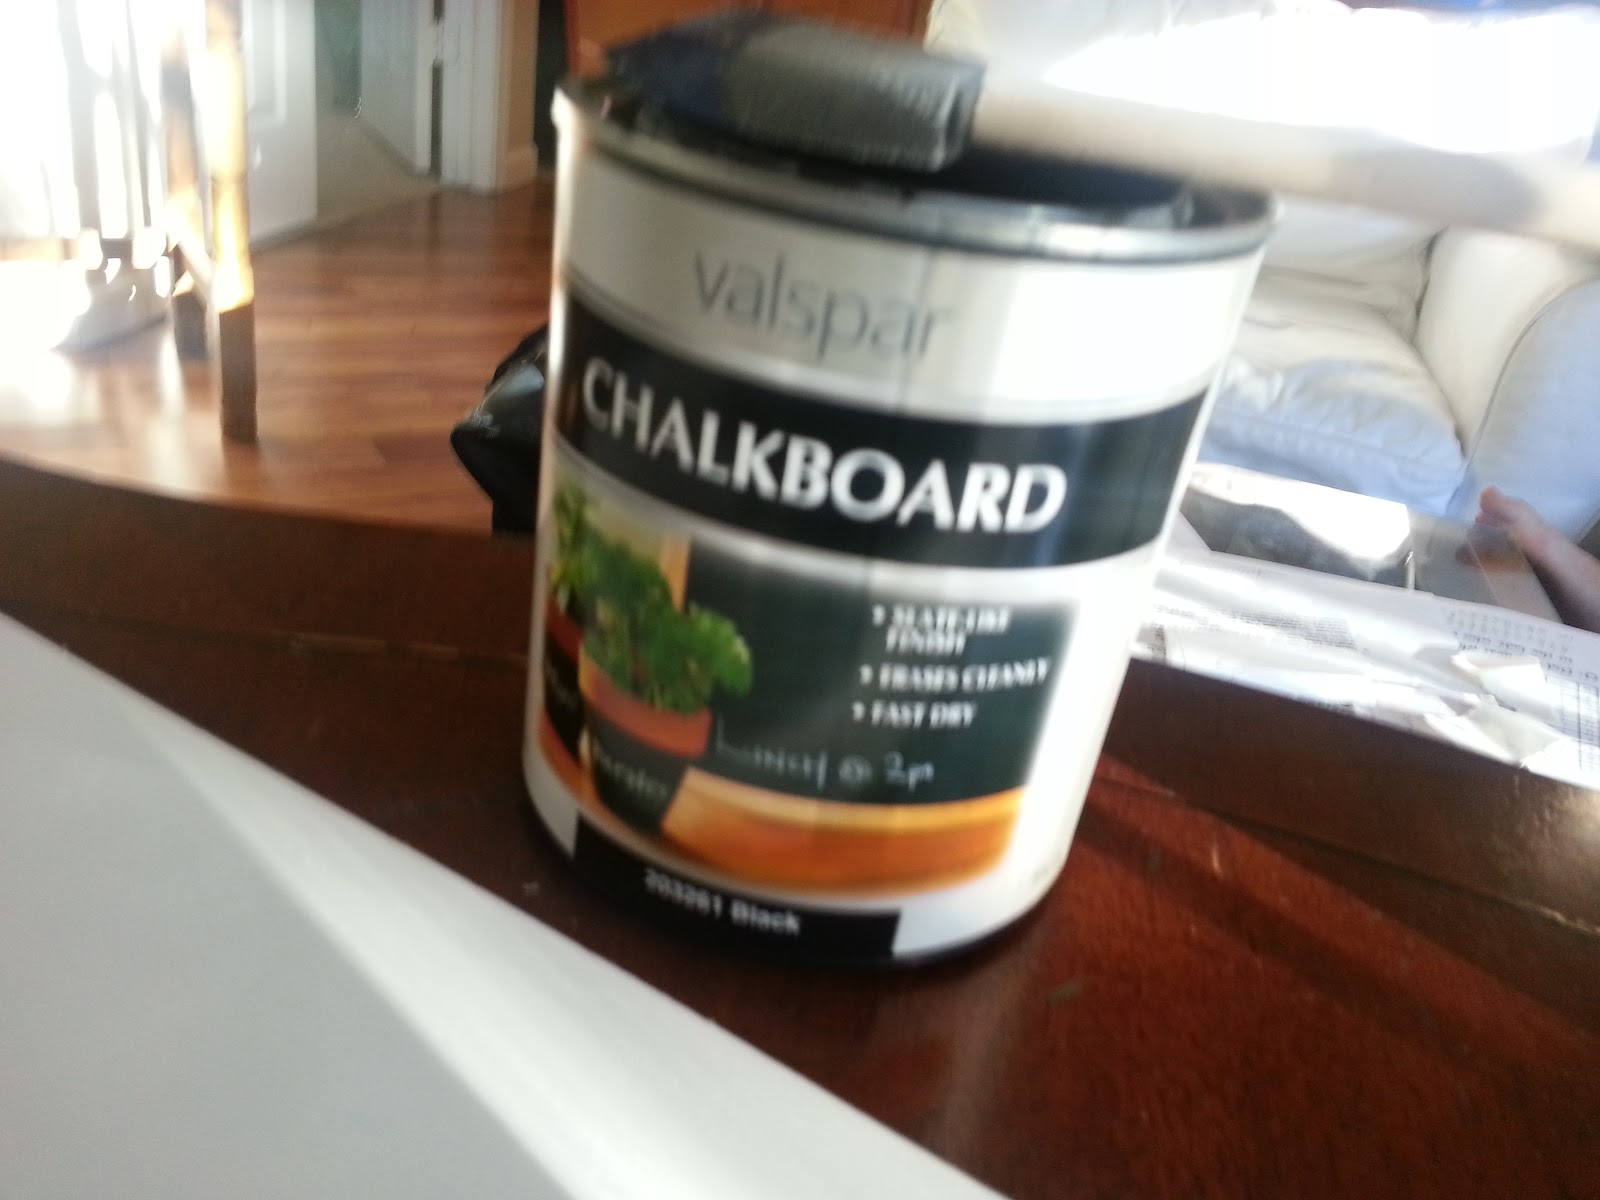
Next I got out the chalkboard paint and a foam brush. I use lots of this stuff on my projects. I actually have chalkboard spray paint and Valspar chalkboard paint. Determining which one to use really just depends on the project.


Here's a picture of it on my daughter's dresser. I wonder what kind of notes she's going to leave me now..."Mom, can you get some [insert random item here]!"


And finally here's a sneak peak at my next project...

Have a great day!
Linking to:
Thanks for linking' up...love your glazed green chalkboard!!!
ReplyDeleteJane
FF
Thank you! Love your blog and I'll be back for another party :-)
Delete